SwiftUI Animation Lessons From Building “Time’s Up! Timer”
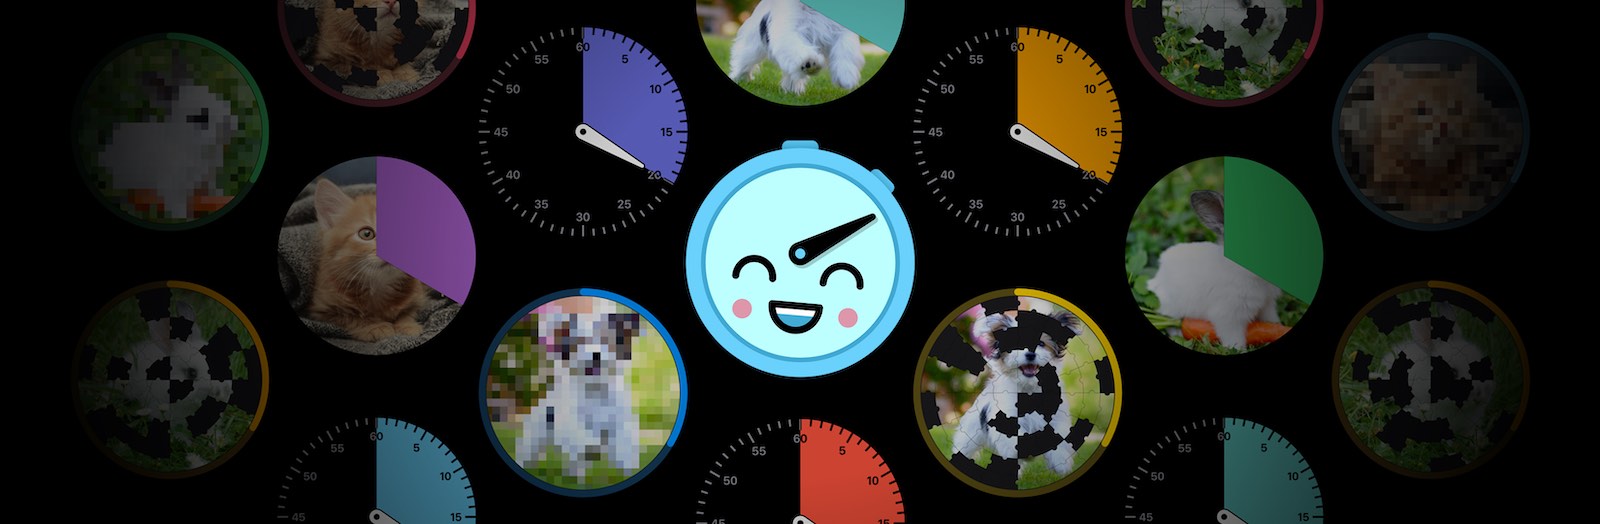
I recently launched Time’s Up! Timer, a kid-friendly timer app for iOS, macOS, and tvOS. It’s a SwiftUI app that makes heavy use of animations, so I thought I’d share a few of the SwiftUI animation tips and tricks I’ve learned building it.
Use animation(_:value:) instead of animation(_:)
Let’s start with the simplest lesson: always use animation(_:value:) for implicit animations. Unlike the simpler animation(_:) modifier, this also requires an Equatable value parameter; the animation will only be applied when that value changes. Without this, the animation may run when other properties change or during transitions.

Here’s an excerpt from the code for my timer view, which draws a clock face and a hand. The hand moves with a bouncy spring animation when its angle changes — and only when its angle changes — thanks to animation(_:value:).
struct TimerClockfaceView: View {
    @State var angle: Angle

    var body: some View {
        ZStack {
            makeFace()

            makeHand()
                .rotationEffect(angle)
                .animation(.interactiveSpring(), value: angle)
        }
    }
}
The value-less version of animation(_:) is deprecated as of iOS 15 / macOS 12, which means Apple agrees: always use animation(_:value:).
Always test device rotation
Speaking of unwanted animation: SwiftUI views will animate to their new sizes when you rotate your iPhone or iPad, and this may produce some undesirable results. I recommend testing device rotation in the simulator with Debug → Slow Animations enabled so you can see exactly what’s happening and fix it.
Respect your user’s Reduce Motion setting
iOS has a Reduce Motion accessibility setting, which disables or simplifies most animations. Try it yourself by going to Settings → Accessibility → Motion → Reduce Motion. Third-party apps like ours should respect this setting too, and with SwiftUI it’s incredibly easy.
struct TimerClockfaceView: View {
    @State var angle: Angle
    @Environment(\.accessibilityReduceMotion) var reduceMotion

    var body: some View {
        ZStack {
            makeFace()

            makeHand()
                .rotationEffect(angle)
                .animation(reduceMotion ? .none : .interactiveSpring(),
                           value: angle)
        }
    }
}
We first read the user’s preference using the \.accessibilityReduceMotion environment value, then use a ternary operator in animation(_:value:) to set the animation to .none if reduceMotion is true.
Use withTransaction to override implicit animations
Here’s a snippet of code from my main view, which shows the timer, the remaining time as Text, and a Reset button that will reset the timer with a nice (slow) .default animation.
struct ContentView: View {
    @StateObject var timer: TimesUpTimer

    var body: some View {
        VStack {
            Text(timer.remainingTimeString)
                .font(.title)
            TimerClockfaceView()
                .aspectRatio(1, contentMode: .fit)
            Button("Reset") {
                withAnimation(.default) {
                    timer.reset()
                }
            }
        }
    }
}
And here’s a capture of what happens when I tap Reset.
It’s not working as expected — the implicit spring animation on the clock hand hand is overriding the explicit withAnimation in our Reset function. How can we override the spring animation?
The solution is withTransaction, which is similar to withAnimation except it takes a Transaction object. A Transaction represents the context of the current state-processing update, including the animation that will be applied.
struct ContentView: View {
    @StateObject var timer: TimesUpTimer

    var body: some View {
        ...
        Button("Reset") {
            var transaction = Transaction(animation: .default)
            transaction.disablesAnimations = true
            withTransaction(transaction) {
                timer.reset()
            }
        }
    }
}
First we create a Transaction with the .default animation we want. Then we set the Transaction’s disablesAnimations property to true, which tells it to disable all implicit animations on the affected views. Finally, we call withTransaction(_:_:) like we would withAnimation(_:_:), providing our transaction and a closure to execute.
Looks good!
(Actually Animation.default is pretty lame and I don’t actually use it in my app, but you get the idea!)
Use transaction(_:) to override explicit animations
Now if you look closely at that last animation, you may notice something else that doesn’t look right: when we tap Reset, the time Text view changes size and that change is animated.

Yuck. Let’s disable that animation using transaction(_:), which is a View Modifier that lets us change or replace the Transaction being applied to the view when we called withAnimation or withTransaction. In this case, we want no animation for the Text so we set transaction.animation to .none.
struct ContentView: View {
    @StateObject var timer: TimesUpTimer

    var body: some View {
    	Text(timer.remainingTimeString)
    	    .transaction { transaction in
    	        transaction.animation = .none
    	    }
    	...
    }
}
Here’s the final result: the hand animates smoothly while the time snaps to its new value immediately.
This is a very simple use of transaction(_:) but many things are possible: you could change to a different animation, add a delay, or change the current animation’s duration. It’s pretty cool.
One word of warning from the documentation:
Use this modifier on leaf views such as
ImageorButtonrather than container views such asVStackorHStack. The transformation applies to all child views within this view; callingtransaction(_:)on a container view can lead to unbounded scope of execution depending on the depth of the view hierarchy.
For animation-heavy Mac apps, consider Catalyst
Time’s Up! Timer is available for iOS, macOS, and tvOS, which required some platform-specific optimizations.
For tvOS, testing on real hardware is key because Apple TV boxes are relatively underpowered. I simplified a few views and animations to compensate.
The Mac app was more of a problem, in a way I didn’t expect: SwiftUI animations run very poorly on macOS 11 (I have not done performance testing on macOS 12). I tried using drawingGroup() everywhere I could, but that wasn’t enough. My eventual solution was to abandon my “native” macOS app and switch to a Catalyst app, where animations run great! 🤷🏻♂️
So my advice for animation-heavy SwiftUI Mac apps is to consider Catalyst. Catalyst may not be a good trade-off for many apps — you can’t use .toolbar to make Mac toolbars, and you have no access to macOS-only APIs like .commands or Settings — but for whatever reason, SwiftUI animations run much, much better in Catalyst apps.
Learn more
For an amazing, in-depth look at animation in SwiftUI, including GeometryEffect and the fancy new TimelineView, I highly recommend SwiftUI Lab’s threefive part series:
- Advanced SwiftUI Animations – Part 1: Paths
- Advanced SwiftUI Animations – Part 2: GeometryEffect
- Advanced SwiftUI Animations – Part 3: AnimatableModifier
- Advanced SwiftUI Animations — Part 4: TimelineView
- Advanced SwiftUI Animations – Part 5: Canvas
Wondering how I made the “shake” animation that’s used when a timer ends? Check out SwiftUI: Shake Animation from the objc.io blog.
Still confused by Transaction? Check out Transactions in SwiftUI by Majid Jabrayilov.
If you have any questions/comments/corrections, feel free to reach out to @adam on Mastodon. And if this article has been helpful, please check out Time’s Up! Timer. Thanks for reading!
Posted by Adam Overholtzer on September 29, 2021